|
Back to contents
Previous chapter -> User's Interface.

Project
The project tab contains a list of loaded images along with their processing settings.
Launching the program automatically begins a new project, where you must load an image in order to process it.
Loading Images
 Machinery works with all the most commonly used 8 and 16 bit file formats (JPG, TIFF, BMP, PNG), Machinery works with all the most commonly used 8 and 16 bit file formats (JPG, TIFF, BMP, PNG),
as well as RAW formats:(DNG, CR2, CRW, ARW, NEF, RAW, DCR and others…)
Users can load images in several ways:
- With the help of the Edit option in the Machinery Explorer app.
- By accessing Image -> Open Images / Add Images in the Source Images Panel.
- With the help of the context menu Image -> Open Images / Add Images in Source Images pane.
- By double clicking on an empty spot in the Source Images pane.
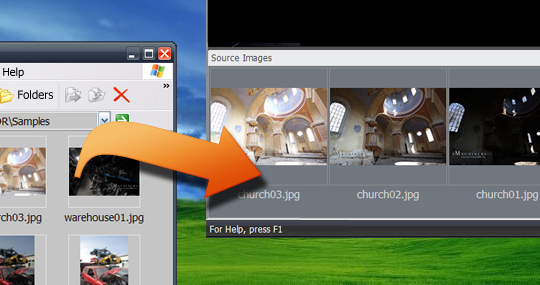
- By dragging images in a Windows file to the preview window or the Source Images pane.
- By going to menu Image -> Transfer from Explorer - the first image from a list in the Machinery Explorer app’s project file will be loaded.
- By entering the names of the images as parameters in the command line.
The list of loaded images can be seen as miniatures in the Source Images pane
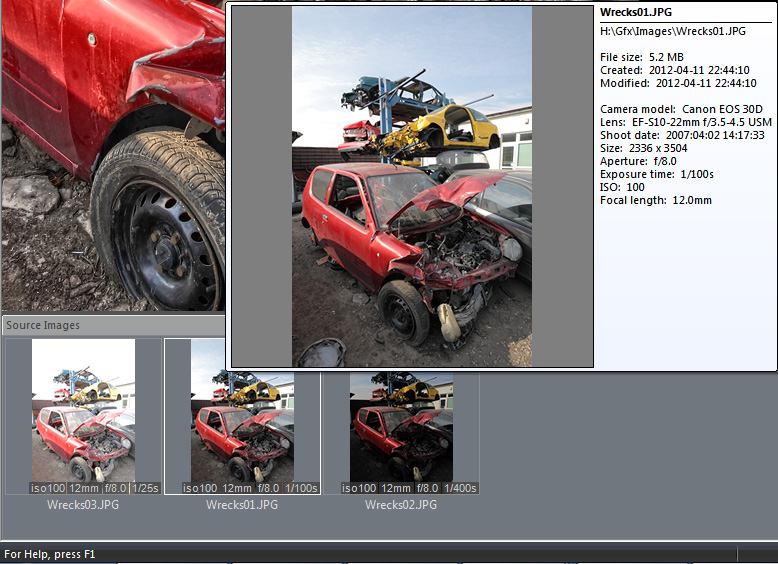
Hold the cursor on the miniature to magnify the image and see EXIF data.
Saving Images
 MACHINERY saves images in 16-bit TIFF and 8-bit JPG, TIFF format files. MACHINERY saves images in 16-bit TIFF and 8-bit JPG, TIFF format files.
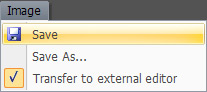
The image currently visible in the preview window is the one that is saved. MACHINERY saves only images that have been processed. If the program is still processing the image, a status line is visible on the bottom of the screen. An image can be saved using Image menu -> Save / Save As...
You can quickly export your saved image to a different graphics program – select the Image menu -> Open in External Editor option and every saved image will be automatically opened in the default program. If the default program is not proper you can change its configuration in the tab "External editor".
The size of the saved image depends on the chosen Preview mode selected in menu View. The Demo version allows the user to save an image up to 1280x1280 pixels.
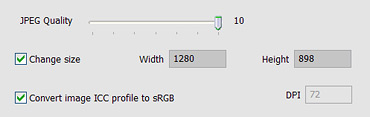 In the saving dialog box the following options are available: In the saving dialog box the following options are available:
- Change dimensions - reduces the image to a specified size.
- DPI - sets resolution of the image.
- Convert image profile to sRGB - available if the image uses the color profile. Use this option when you want to publish the image in Internet.
Quick start
 Drag a chosen series of images, with various exposure levels, from a Windows folder. Wait until the program processes the images and save the result. Drag a chosen series of images, with various exposure levels, from a Windows folder. Wait until the program processes the images and save the result.
That is really all that is required to create a natural-looking HDR image!
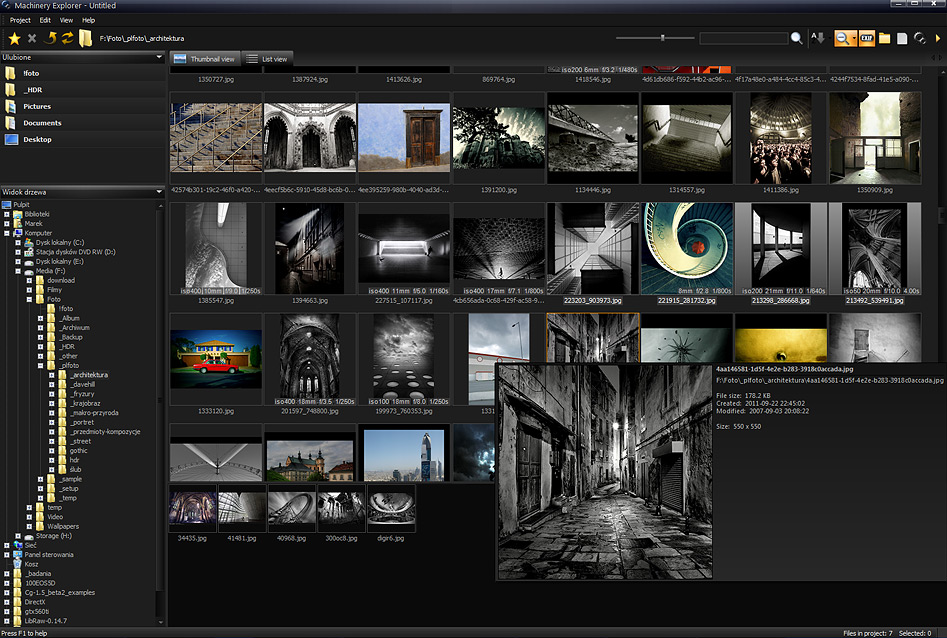
The program bundle includes an additional app, Machinery Explorer. Explorer makes searching for images and viewing photos easier. It also creates a list of images for batch processing.
In order to quickly load an image, use the Edit option.
Next chapter -> Presets
Back to contents
|